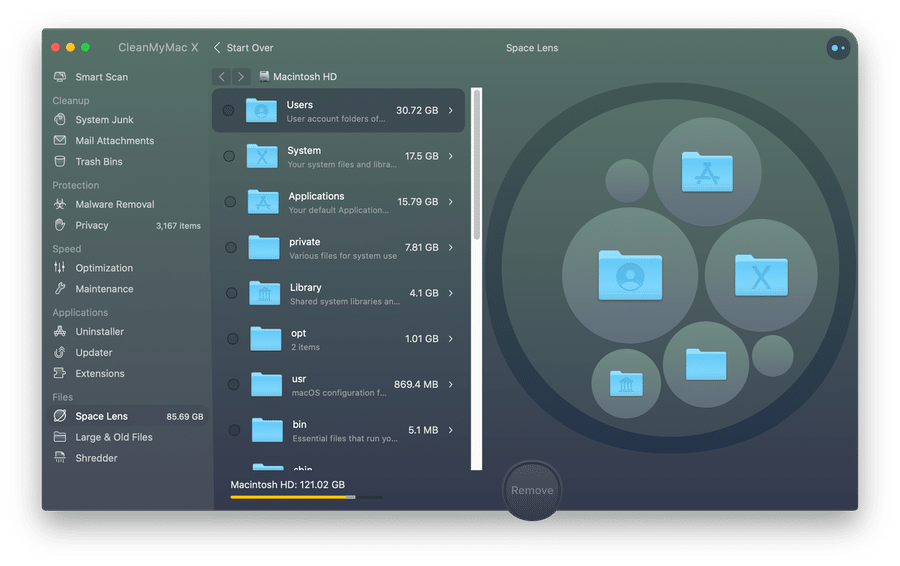
Storage space is one of the most critical components of your Mac. And every user needs to know how to check how much space on Mac is available at any time. This is because disk space has a direct correlation with the speed and performance of your system.
Plus, keeping track of which files you have on your computer helps you stay organized too. It’s a good practice to consistently delete the software and files you don’t need anymore or to transfer them to an alternative disk or cloud storage.
But to know when to do this, you need to know how much space is remaining on your Mac. So here’s a complete guide on how to go about this.
Table of Contents
What is Storage Space on Mac?
When we talk about storage space on a Mac, it refers to the capacity of the disk to hold files. It is measured in Gigabytes or Terabytes. For instance, an entry-level MacBook Pro comes with 128 GB or 256 Gigabytes of storage. As you add more apps and files, they take up space on the system so that the availability gradually reduces.
Needless to say, in our data-rich lives, it’s easy to quickly fill up the default storage on our computers and run out of space. Even disks with massive 1TB or 2TB of storage can get full pretty soon if you’re not paying attention. This necessitates knowing how to check storage on Mac so that the system doesn’t get clogged up. Let’s learn more about this.
Why do you need to check the storage space on Mac?
Sufficient storage space is essential to keep your Mac running up to speed. A full or near-to-full hard drive will make your Mac slow and sluggish. It’s recommended that you always have your storage space at least 15 percent empty for optimal performance.
So, it would be best if you made it a habit to monitor and manage your disk storage space routinely. This will keep your computer running smoothly and ensure that you have room to download and save your latest files or software. So keep reading for all the details.
How to Check How Much Space on Mac
If you’re wondering how to view storage on Mac, the good news is that there are three super simple ways to go about it. These include checking from the Finder, going to the About this Mac section, or opening the Disk Utility. Let’s consider each one in turn.
1. Check Storage Space on Mac Using Finder
The Finder serves as a hub to view and access all the files and programs on your Mac. It also offers a simple way to check your Mac’s storage space. Here’s how:
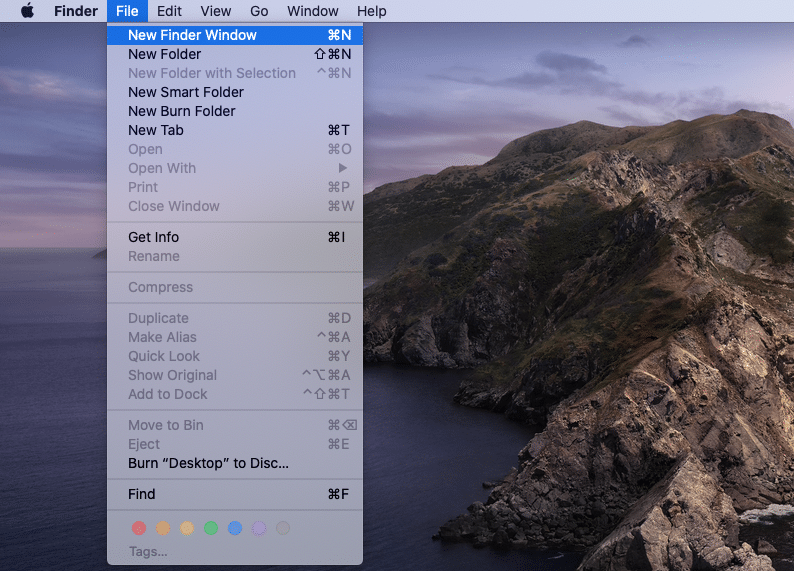
Step 1. Open the Finder by click on it in the Dock or click on the File menu at the top of your Desktop and select New Finder Window.
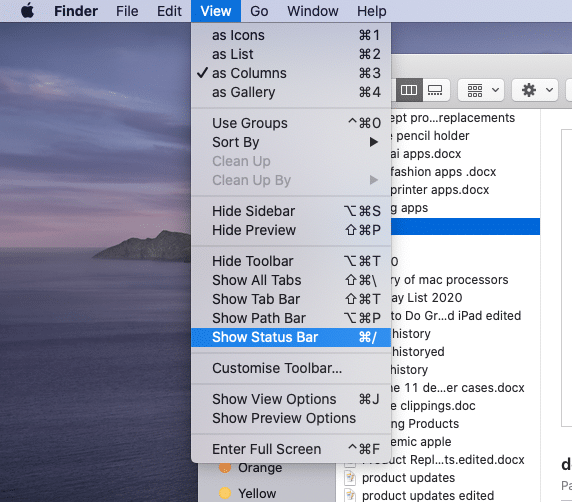
Step 2. Click on View in the Menu bar and select Show Status Bar.
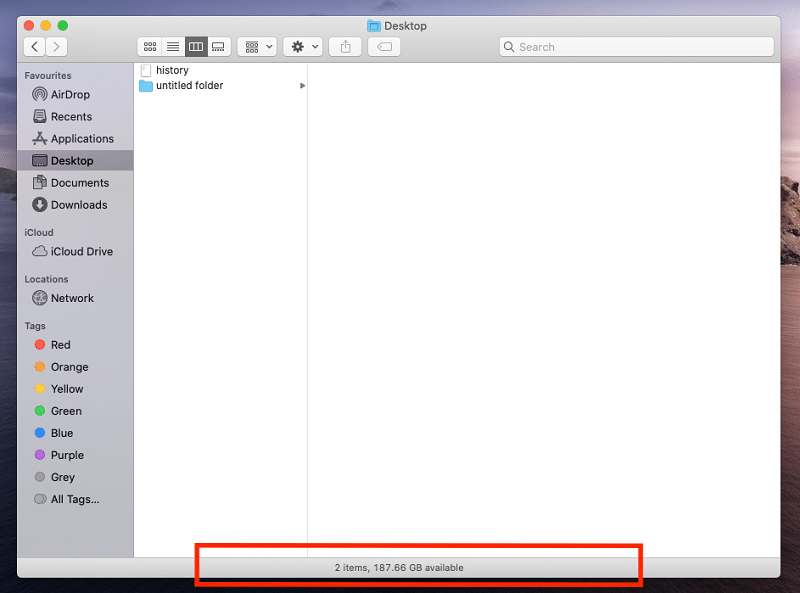
Now, at the bottom of the Finder window, you’ll see an overview of your free disk space. If you click on a folder, it will show you the number of items in it too. You can turn off this status bar by again going to View and clicking on Show Status Bar.
2. Check Storage Space on Mac via “About This Mac”
If your computer is running macOS Yosemite or later and you want to know how to check the storage space on Mac, the About This Mac section can help you out.
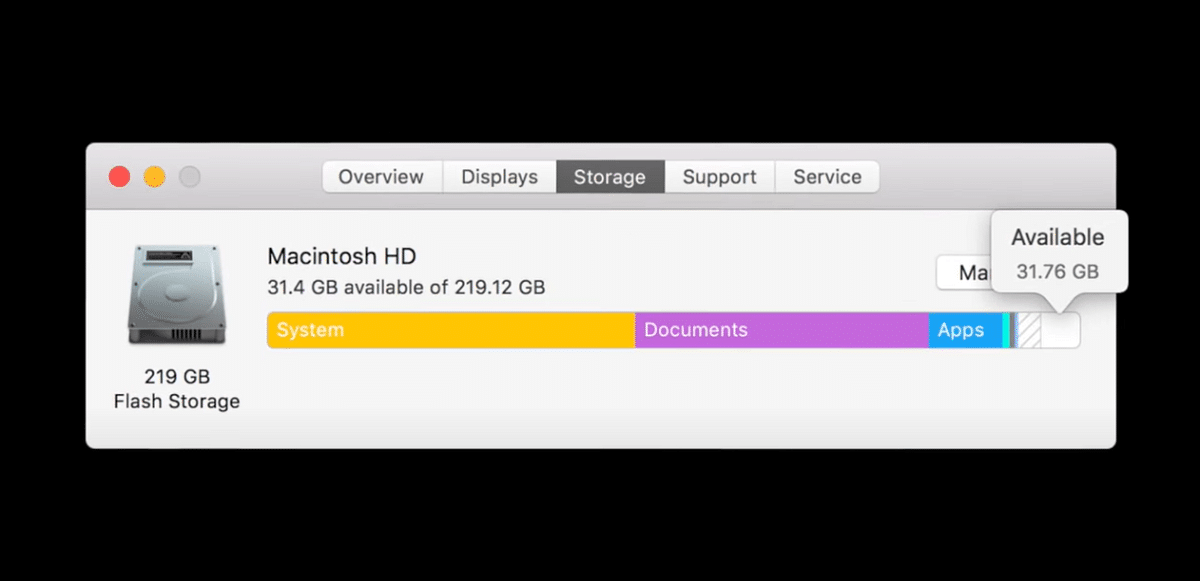
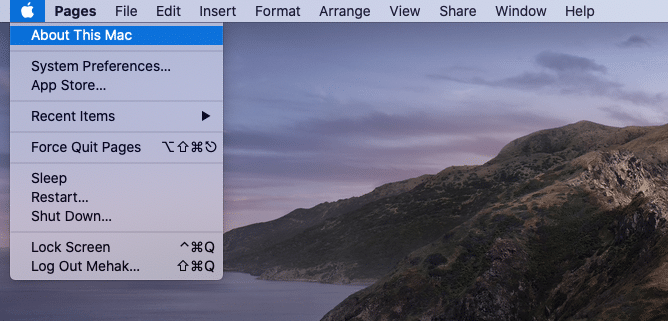
Step 1. Click on the Apple menu at the top of the screen and select About This Mac.
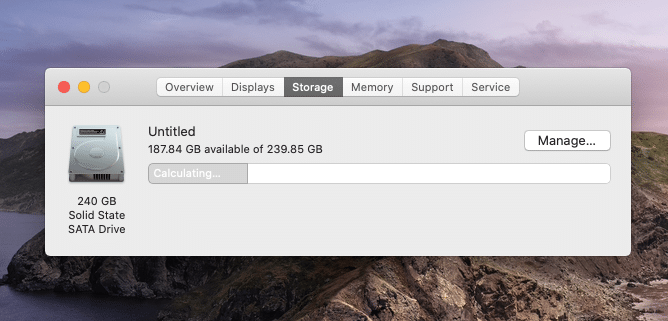
Step 2. In the About box, go to the Storage tab to view how much free disk space is available.
Note: On OS X Mountain Lion or Mavericks, you can click on the More info button and then select the Storage option.
3. Check Storage Space on Mac via “Disk Utility”
The Disk Utility is the most comprehensive answer to the question of how to check how much space on Mac. It will provide you all the info about available space, used space, etc. Moreover, you can also see at a glance the storage space for other drives such as an external disk or a memory card. To access the Disk Utility:
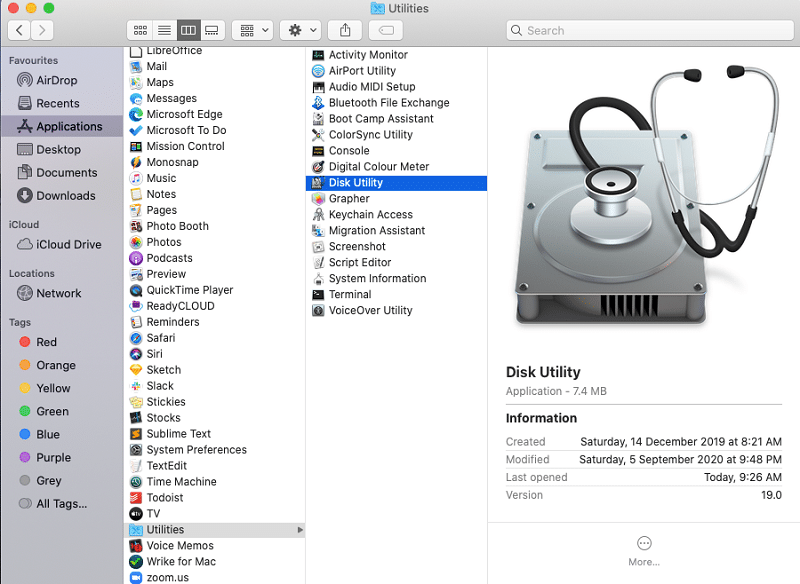
Step 1. Open the Finder and click on Applications.
Step 2. Open the Utilities folder.
Step 3. Double click Disk Utility.
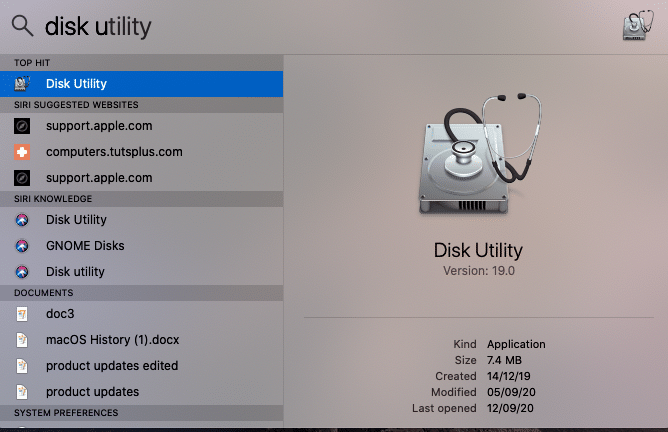
Or, you can open Spotlight by pressing Command + Space on your keyboard and start typing “Disk Utility” followed by hitting the Return key.
Bonus: How to Free Up Mac Hard Drive Space with CleanMyMac X
Given the importance of monitoring and clearing disk storage space, it’s a wise idea to get a dedicated Mac cleaner tool to help you out. One such option is CleanMyMac X that makes it incredibly easy and convenient to keep your system performing optimally.
It boasts a range of tools to manage the storage space on your Mac smartly. For instance, a general system clean eliminates temporary and junk files that might be invisibly clogging up your disk. Then, there’s the ability to search and sort through your files to quickly find the ones you may no longer need and can get rid of to free up precious gigabytes!
It also has options to digitally shred your files for security purposes so that nobody else can revive them. Of course, you can also uninstall apps that you’re not using anymore and tune up your system for improved performance.
Although macOS offers default ways of checking the storage space as explained above, a tool like CleanMyMac X can make a world of difference to clear out invisible temporary or residual files that lurk on your computer. It’s a convenient one-stop option to manage your disks. Read our CleanMyMac X Review here.
Wrapping Up
Now that you’re armed with all the info you need to check the storage space on your Mac, establish a routine of doing it every few weeks or months to have a clear picture of your system. This will keep your Mac performing smoothly and keep it from slowing down. We all have lots of data to manage, but fortunately, external drives and cloud storage services make it easy and secure to keep off our computers. So make the most of those options and enjoy an efficient macOS.

